• +965 51122049
Infrared sensor receiver module

Infrared sensor receiver module

KWD0.750KWD0.750
0%Off

Infrared sensor receiver module


Share:

Specifications

  • Infrared remote control distance: more than 8 meters
  • Launch tube infrared wavelength: 940Nm
  • Crystal frequency: 455KHZ crystal
  • Carrier frequency: 38KHZ
  • Encoding: encoding format for the NEC
  • Size: 86 * 40 * 6mm
  • Power: CR2025/1600mAH

Use

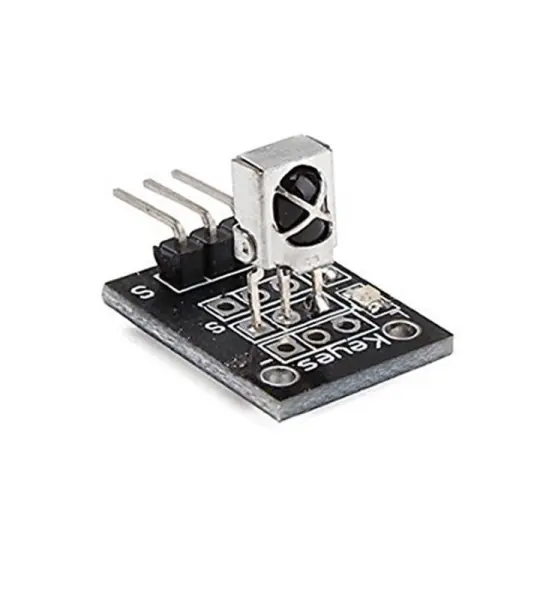
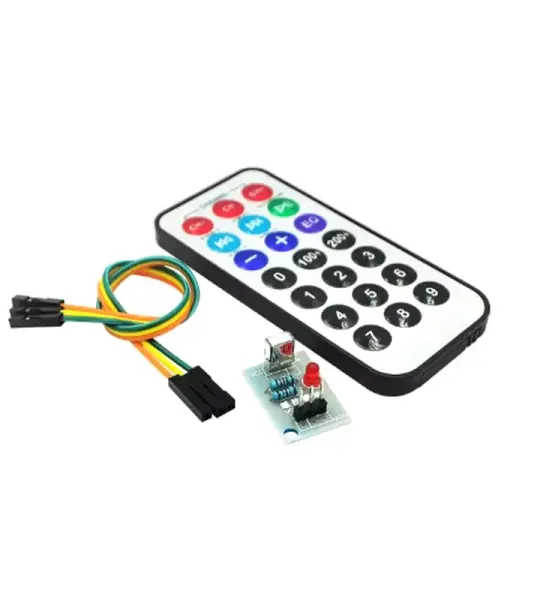
Remember that the remote control and the ir receiver is a set, it has to decode the code and will display a hex code.


Test

  • Arduino controller × 1
  • USB data cable × 1
  • Infrared remote control × 1
  • the infrared receiver module × 1

Schematic

  • Arduino GND --> Module pin -
  • Arduino +5V --> Module PLUS (middle pin)
  • Arduino Digital pin 11 --> Module S


Example Code

This is the supplied demo code for the Arduino you can find under File->Examples->IrRemote->IrRecvDemo

/*
 * IRremote: IRrecvDemo - demonstrates receiving IR codes with IRrecv
 * An IR detector/demodulator must be connected to the input RECV_PIN.
 * Version 0.1 July, 2009
 * Copyright 2009 Ken Shirriff
 * http://arcfn.com
 */


#include 


int


	 RECV_PIN =


	 11


	;


IRrecv irrecv(


	RECV_PIN)


	;


decode_results results;


void


	 setup()


{


  Serial.begin


	(


	9600


	)


	;


  irrecv.enableIRIn


	()


	;


	 // Start the receiver


}


void


	 loop()


	 {


  if


	 (


	irrecv.decode


	(


	&


	results))


	 {


    Serial.println


	(


	results.value


	,


	 HEX)


	;


    irrecv.resume


	()


	;


	 // Receive the next value


  }


}


Raspberry Pi2

Tutorial


Wiring the pi with the module

  1. left pin (GND) to pin 6 (GND)
  2. Center pin (VCC) to pin 1 (3,3V)
  3. Right pin (DATA) to pin 12 (GPIO 18)

Setting up Raspbian

Before running any code, install LIRC with sudo apt-get install lirc and the follow the prerequisites below

edit /etc/modules and add the lines below:

  1. lirc_dev
  2. lirc_rpi gpio_in_pin=18 gpio_out_pin=17

edit /etc/lirc/hardware.conf and modify to add the correct values as below:

  1. DRIVER="default"
  2. DEVICE="/dev/lirc0"
  3. MODULES="lirc_rpi"

edit /boot/config.txt and edit the dtoverlay value like this:

  1. dtoverlay=lirc-rpi,gpio_in_pin=18,gpio_out_pin=17,gpio_in_pull=up

reboot your pi

after reboot:

  1. stop lirc daemon: sudo /etc/init.d/lirc stop
  2. test your ir receiver by running: mode2 -d /dev/lirc0 then by pushing any key on your remote to see if something happens (random numbers)

your IR receiver is working !


Add your review

Your email address will not be published. Required fields are marked *

Please login to write review!

Upload photos

Looks like there are no reviews yet.
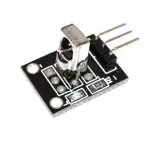
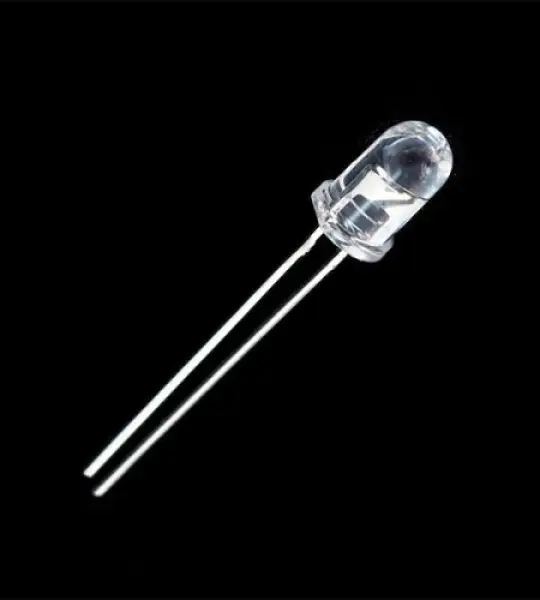
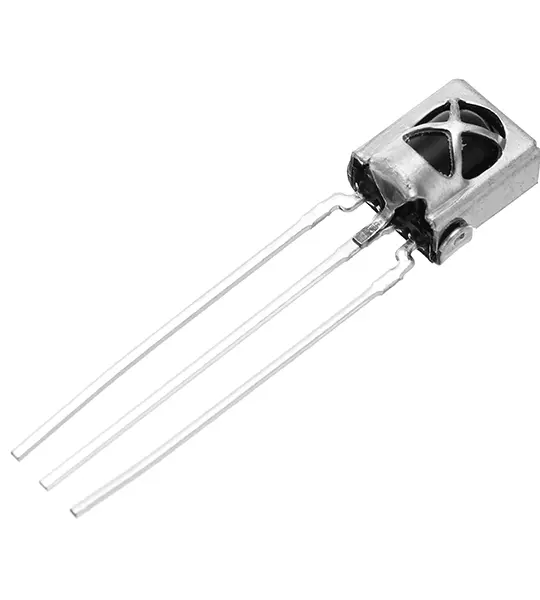
Related Products