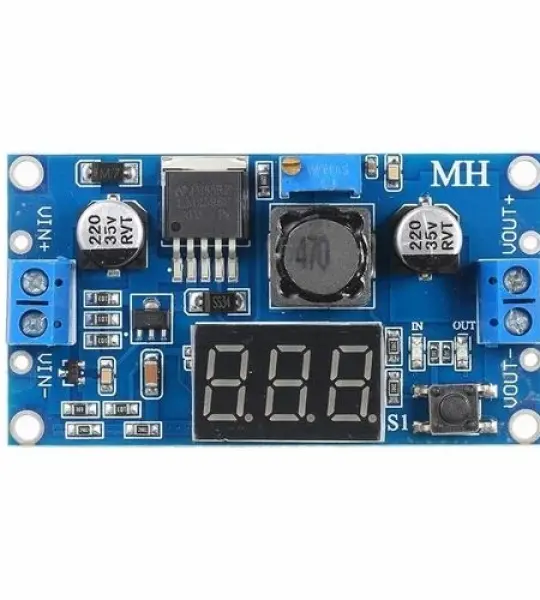
Press the right key to let the display show the input or output voltage. when the right “OUT” led light, it shows output, the left “IN” led show input.
Power-off memory function, show that road after power voltage values measured for the last time
Press the touch button for 3 seconds to turn off the LED display, touch the button again to turn on the LED display
The band terminals, no iron can also be easy to use, and retention wire connection point
Specifications:
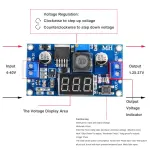
Input Voltage (V)
4 ~ 40 VDC
Output Voltage (VDC)
1.3 ~ 37
Output Current(A)
2
Switching Frequency (KHz)
150
Operating Temperature (°C)
-40 to +90
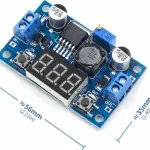
Length (mm)
62
Width (mm)
34
Height (mm)
12
Weight (gm)
22
Output voltage calibration steps:
Step 1: Adjust the right button so that “OUT” LED lighted, the voltmeter shows the value of output voltage; Press the right button for more than 2 seconds, release, voltmeter and “OUT” LED flashes in synchronization so that you enter the output voltage calibration mode.
Step 2: Press the right button (normal speed), the voltage value is adding up a unit; Press the left button, minus a unit; Due to a unit is less than 0.1V, the minimum voltage display to 0.1V, so you need to continuously press 1-5 times to see the voltmeter change 0.1V, how many times voltmeter change 0.1V by pressing the key, depending on the current display voltage, the higher the voltage, the fewer the number of press.
Step 3: Press the right button for more than 2 seconds, release, to exit the output voltage calibration mode. All parameters set to automatically power down to save.
Input voltage calibration steps:
Step 1: Adjust the right button so that “IN” LED lighted, the voltmeter shows the value of input voltage; press the right button for more than 2 seconds, release, voltmeter and “IN” LED flashes in synchronization so that you enter the input voltage calibration mode.
Steps 2 and 3, consistent with the output voltage calibration method.
Notes: Maximum current is dependent on input and output voltages, ambient temperature and cooling. To achieve maximum ratings an external heatsink may be required. Maximum LM2596 operating temperature must not exceed 125°C otherwise permanent thermal damage can occur.
Package Includes :
1 x LM2596 2A Buck Step-down Power Converter Module with LED Voltmeter
Add your review
Your email address will not be published. Required fields are marked *